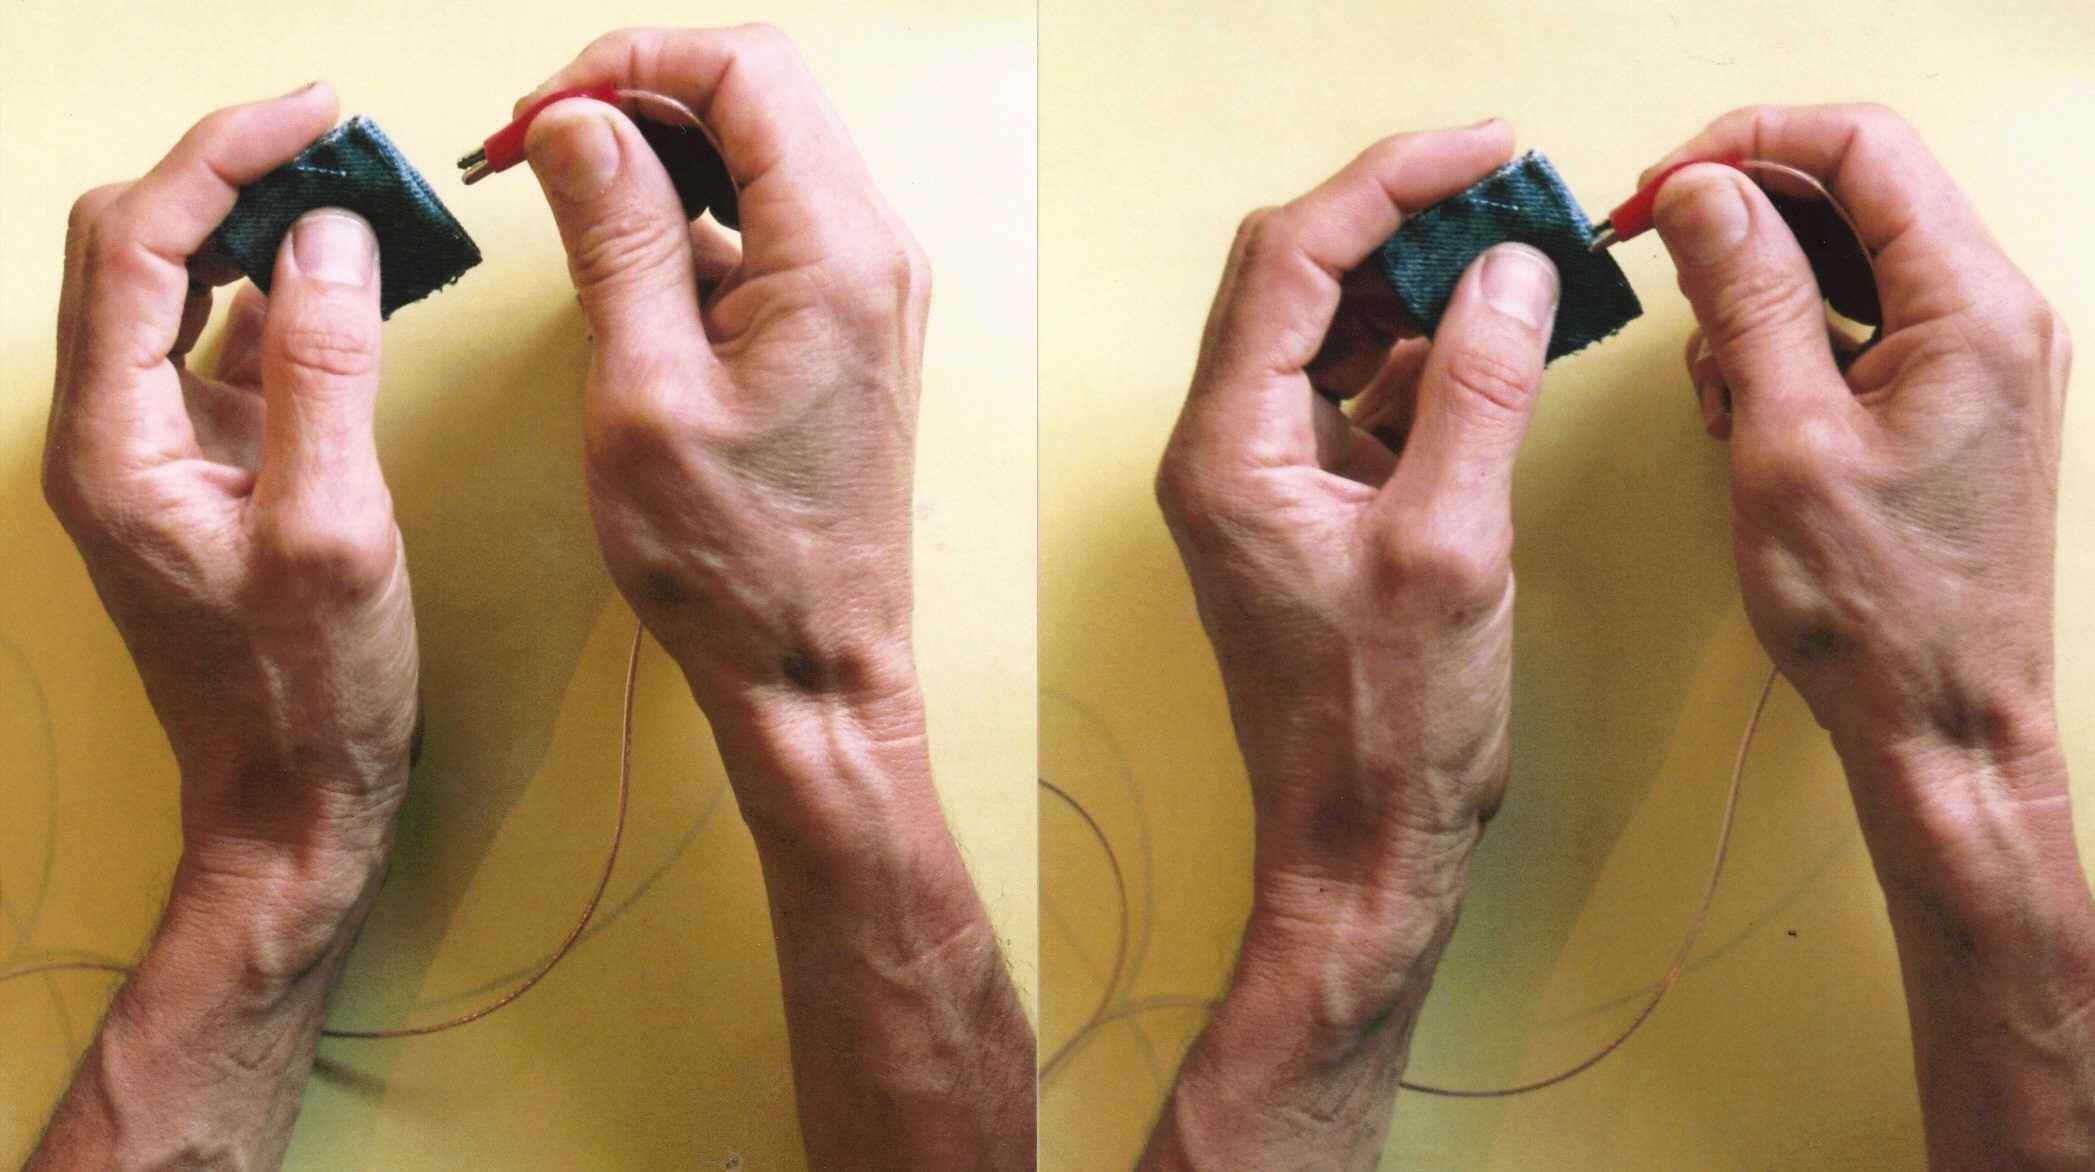
Application of cloth electrodes
Wet the cloth electrodes thoroughly with tap
water. Connect the
alligator clips to the electrodes so that one "jaw" is inside the
mouth of the electrode. Apply
the electrodes to your body so that the exposed alligator clip jaw is not
touching the skin. Disconnect them from the alligator clips after each use and
let them air dry.
Application of sticky electrodes
Just stick them onto your body so that
the frequency flowing between them is going through the area that is infected.
When they start to lose their stickiness then wet them with water. When they
give up the ghost then replace them.
DEVICE USAGE AGAINST CANDIDA
Use it set on "30KHz" for at least 20 minutes as often
as is needed or go the distance by using it 30 minutes every day for 8 - 10 days.
(But start at 15 minutes the first day.) In the lab tests they achieved
complete candida eradication with daily use of 21 minutes for 10 days straight. I recommend that people put the pads on the left and right sides
of the intestinal area to begin with since the intestines is where most of the
candida lives. Afterwards, when there are no more cleansing reactions you can
put the electrodes on both sides of any other infected area. Having one electrode under each foot will do very little for
you unless you have candida foot infections.
DEVICE USAGE AGAINST BACTERIA
Usually a 30 minute treatment is sufficient to
kill all bacteria. Both frequencies are effective against bacteria. If using it on your intestinal area in case of diarrhea you
should take a good quality high potency acidophilus supplement afterwards to
resupply the good bacteria for your intestines which are important for
digestion.
INDICATOR LIGHTS
The two red light-emitting-diodes will show that
electric current is flowing into you
correctly when the "Out" light is on, and that there is sufficient
battery voltage when the "Power" light is on. Most people feel no sensation at all, although some do feel a slight tingling at their hands or feet. If you don't also
achieve success then you will be entitled to a refund. But I am confident that you will
be happy with this device. (These are the only instructions
for use other than emailing me with questions at a57ngel@yahoo.com)
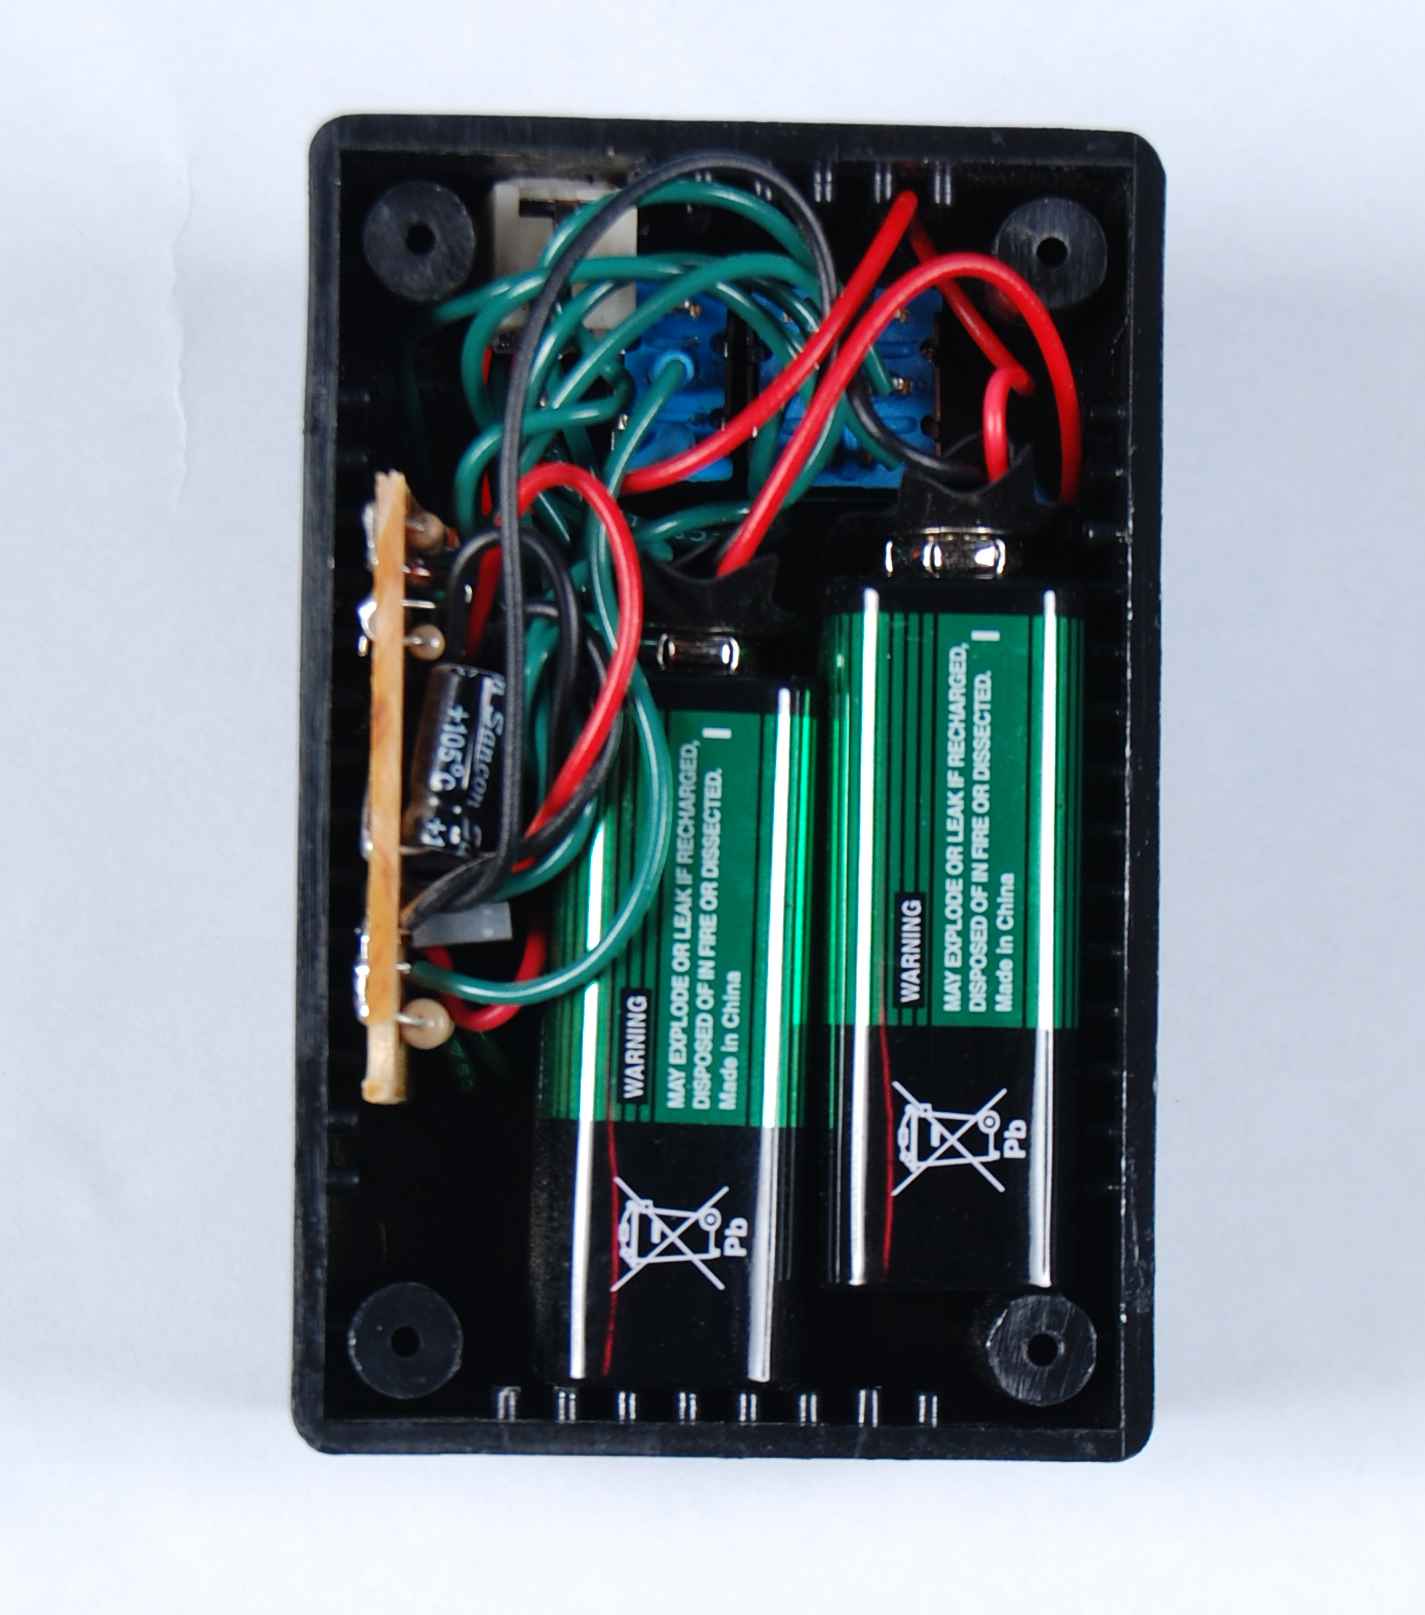
Battery Replacement
It is powered by two 9 volt batteries which can easily be replaced after unscrewing the four
Phillips screws holding on the bottom case cover. Make sure the phillips
screwdriver fits well within the screw so that you don't permanently damage it
and make it near impossible to remove. A dimming of the red Power light indicates
it is time to replace the batteries. An
alkaline battery is recommended for long life. The picture below displays how
the batteries should be placed in relation to the components board. Be sure to
replace the board so that the side with all the wires is facing the battery. If
the side with the metal points was touching the battery then it would eventually
cause a short circuit on the board.
|